Content brought to you by PTEN. To subscribe, click here.
Q: What kind of setup was involved before using the product?
A: We found that cleaning the surface beforehand was pretty critical for a good seal. Otherwise, it was just a matter of removing the patch from its package, sizing it for the injury, and then applying.
Q: How easy was it to use?
A: Apply and expose to UV; it was pretty easy.
Q: How was its packaging?
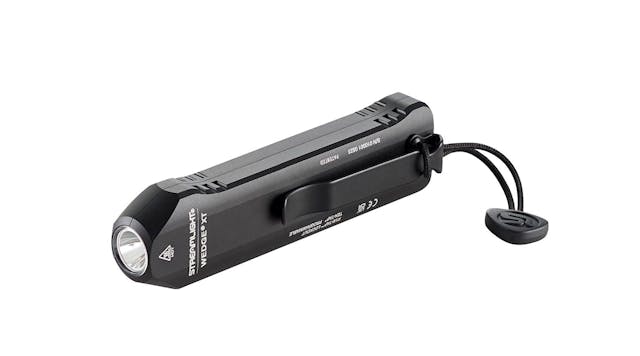
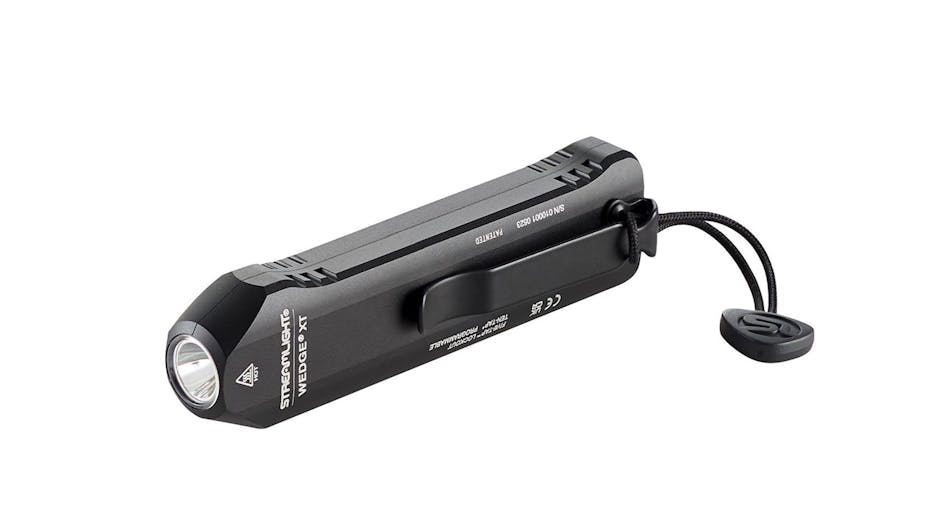
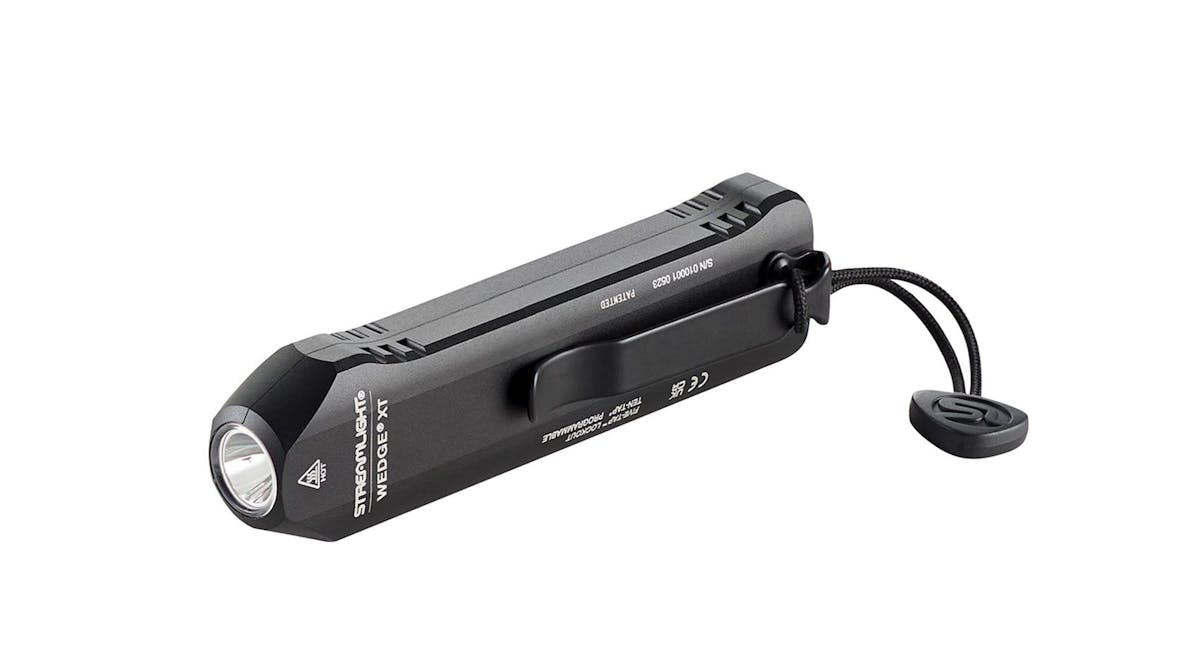
A: The patches came in different sizes in sealed packages. We cut a couple to size for some small injuries, and placed the unused portion back in the package and sealed it back up in a zipper bag. Portasol sent a UV flashlight for us to use to help sure the epoxy.
Q: Was there a manual included? If so, did you use the manual, and was the manual easy to understand?
A: No manual but the instructions are on the package.
Q: What features did you like?
A: Really easy to size the patch for injury, and even to customize the shape if needed.
Q: Is there any way you could think to improve or add to this tool?
A: No, I feel like there wasn’t much room for error. Once the patch is exposed to the UV it starts curing pretty quickly and then there’s no room for adjustment.
Q: What types of jobs/repairs did you use this tool for?
A: I used the Portasol-Patch on a bumper cover, a metal fuel tank on a dirt bike, and a few 5-gallon buckets. The patch worked well on all pieces. I found it easy to work with, and position within the first five to 15 minutes of application.
Before applying, I prepped the surfaces by scuffing the area and a little bit of the surrounding area. I wiped the areas down with a clean rag and brake cleaner and then applied the patches. On the fuel tank, I had to remove the area of rust where there was a hole and the paint immediately surrounding the area.
The bumper cover and the fuel tank had been sitting in the sun, so they were hot to the touch. Once applied, the patch on the bumper adhered really well, and only allowed for positioning for about five minutes before it was starting to cure. The total time to cure where it felt solid was about an hour.
The patch applied to the fuel tank took quite a bit longer. It was still able to be moved for almost 30 minutes, and it took about two and a half hours for it to feel totally hard and cured. When I rechecked the fuel tank, it held water and did not leak. I did a little sanding on the bumper cover patch, and it was easy to shape. I applied a little primer and now it's ready to install back on the car when I get the chance.
Q: On a scale of 1 to 10, how would you rate this tool overall? Why?
A: I would say it’s a good 8.5. Easy to use but does require UV light for proper curing.
